

Artwork setup for offset print
Good artwork setup saves time at proof stage and helps brochures, catalogues and booklets print cleanly on sheet-fed offset presses. This guide covers the file basics we need before folding, stitching or perfect binding goes ahead.
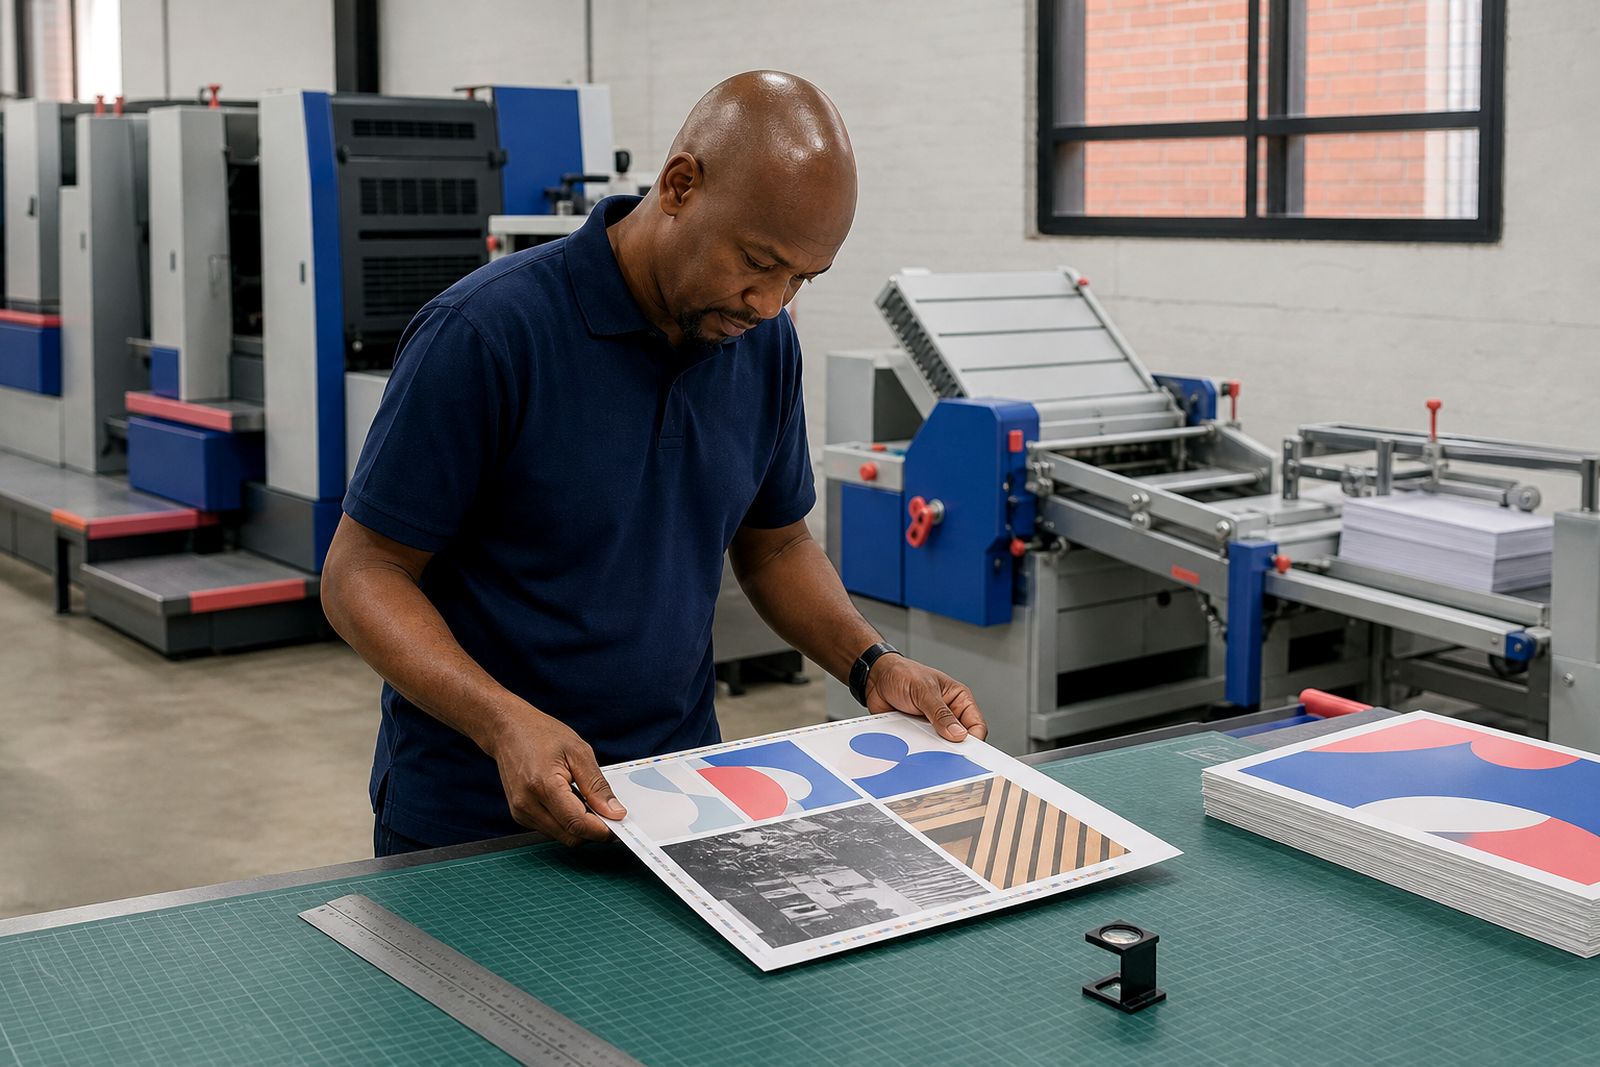
Start with the right document size
Build your file at the finished trim size, not at a reduced scale and not with extra white space around the page. If the brochure is A4 when closed, each page in the artwork should be A4 at trim, with bleed added outside that size. Working at full size keeps type, images and panel widths correct when we check the file and prepare a proof.
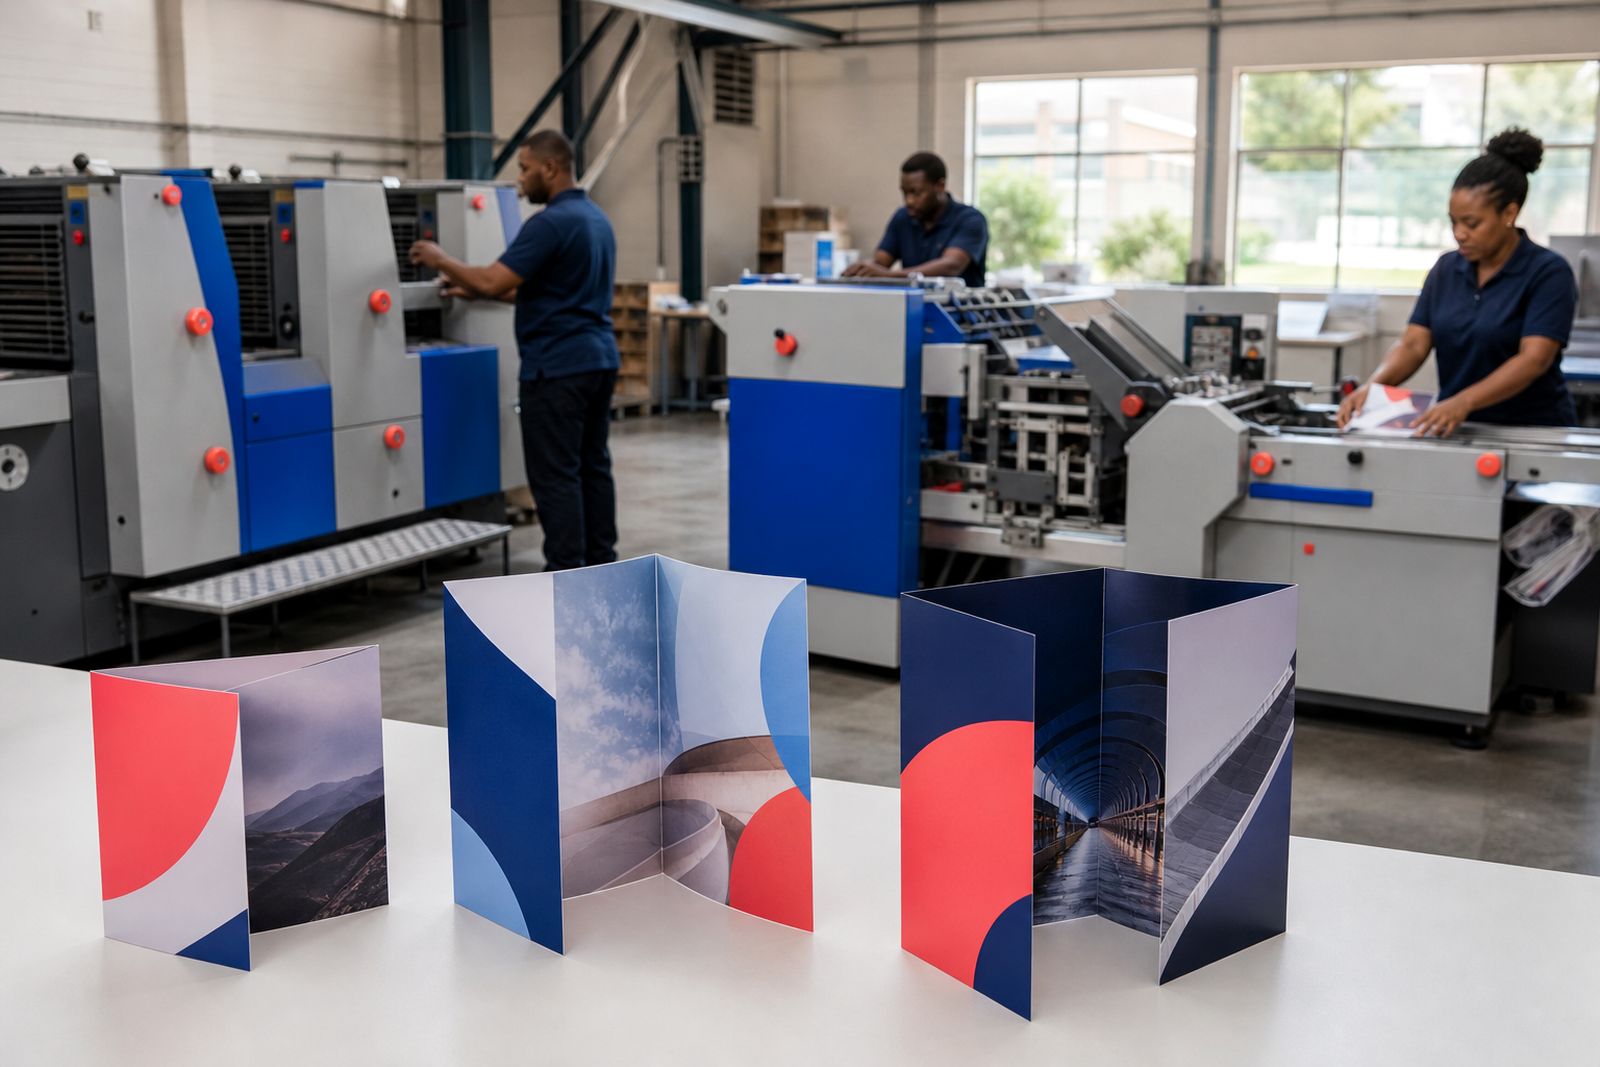
Folded work needs a little more care than flat flyers. Tri-fold panels are often not all exactly the same width, and gate folds need inner panels to sit neatly when the piece closes. For catalogues and booklets, the page size stays constant, but the binding method affects how spreads and page creep are handled later in production.
- Set the document to the final trimmed page size.
- Add bleed on all sides from the start.
- Build brochures as single pages unless a wide spread is specifically required.
- Keep fold panels accurate for tri-fold, bi-fold and gate fold work.
- Do not add printer marks unless they are requested for a particular job.
Bleed and safe margins are not optional
Any colour, tint, image or background that runs to the edge of the page must extend past the trim line. That extra area is the bleed, and it prevents fine white slivers appearing after guillotining. A common setup is 3 mm bleed on each side, which suits most brochures, catalogues, leaflets and programmes we print.
Safe margin matters just as much. Logos, page numbers, rules and body copy should sit comfortably inside the trim. If text is pushed too close to the edge, even a well-printed job can look cramped after trimming and folding. On stitched work, content placed too close to the centre fold can also feel tight.
- Extend edge-to-edge artwork at least 3 mm beyond trim.
- Keep important text and logos at least 5 mm inside trim.
- Leave extra breathing room near folds, perforations and the spine.
- Avoid hairline borders close to the edge, they show trim movement easily.
- Check that background images continue into the bleed area on every page.
Use CMYK and supply images at print quality
Offset presses print in CMYK, so artwork should be supplied in CMYK rather than RGB. Files built in RGB can look bright on screen and then shift at proof stage, especially with strong blues, greens and orange tones. Converting early gives a more realistic view of the final result and reduces colour surprises.
Images also need enough resolution at the size they will print. A photo that looks sharp on a monitor can soften badly on paper if it has been pulled from a website or enlarged too far. For most placed images, 300 dpi at final size is the usual target. Line art and bitmap graphics often need a higher effective resolution for crisp output.
Very rich dark areas should be built carefully. Heavy total ink coverage can cause drying issues and set-off on some stocks, particularly on pages with large solid backgrounds. If a job includes a lot of dark flood colour or laminated covers, mention it when sending the brief through our contact form so we can check the file with that in mind.
Fonts, layers and exported PDFs
Font trouble is one of the easiest ways to delay a clean proof. Missing fonts, faux styles and text left editable inside placed artwork can all change line breaks or character spacing. The safest route is to export a press-quality PDF with fonts embedded. Where brand rules allow, converting headline text to outlines can also help, but body copy is usually better left as live embedded text in the final PDF export.
Keep the file tidy before export. Hidden layers, unused spot colours and old die lines often slip through from earlier versions. If a varnish or spot UV mask is needed on a cover, it must be supplied clearly on a separate layer and named plainly so it is not mistaken for printable artwork.
- Embed all fonts in the final PDF.
- Remove unused colours, hidden notes and stray objects.
- Flatten transparency only if your export workflow requires it.
- Name files clearly with the job and version.
- Supply special finish layers separately and label them properly.
Page counts, reading order and binding setup
Booklets and catalogues need the right page count before they can move smoothly into imposition. Saddle stitched work normally uses page totals that fall in fours because folded sheets create four printed pages at a time. Perfect bound work is more flexible, but it still needs a complete page plan, including blank pages where required for sections to open and close correctly.
Send pages in reading order as single pages unless a cover spread or another specific arrangement has been requested. Please do not impose the file for print on your side. We set up the press sheets according to the final size, stock, fold and binding method. Reader spreads pulled from a design file often create confusion for proofing and can hide page order mistakes.
Covers for perfect bound catalogues should be checked with spine width allowed for. The exact spine depends on page count and paper choice, so if that part is still open, we can guide the final cover setup once the specification is settled.
Final preflight before you upload
A careful last check saves back-and-forth on avoidable issues. Open the exported PDF and inspect it page by page at high zoom. Look for missing images, colour shifts, unexpected overprint, low-res graphics and pages that have dropped their bleed. It is worth printing a rough office dummy too, especially for folded brochures and programmes where panel flow and pagination can feel different in the hand.
- Confirm trim size, bleed and safe margins on every page.
- Check all images are linked properly and reproduce sharply.
- Make sure blacks, tints and solid backgrounds are consistent.
- Review page numbers, table of contents and cross references.
- Verify the file matches the chosen fold, stitch or binding style.
- Upload the final PDF version only, not a working package unless requested.
If anything is unusual, such as mixed page sizes, inserted forms or a fold-out section, mention it clearly when you send the job through. That small note helps us review the file properly before proof approval and print.
What our Brochure Printing customers say
Verified Google reviews
Questions we get asked
Should I send RGB artwork if the photos look better on screen?
No. Offset print runs in CMYK, so artwork should be converted before export. Screen colour and printed colour are not the same, and RGB files often shift when they are prepared for press.
Do you need spreads for catalogues and booklets?
In most cases, no. Please send single pages in reading order. We handle the imposition for stitched and perfect bound work as part of print preparation.
Can you check my file before print?
Yes. We review supplied artwork, flag practical issues and send a proof before print. If you are unsure about bleed, folds, spine width or page setup, include that note when submitting the specification.
Also worth a look
Tell us about the job
Send sizes, materials and where you are through our contact form, and we will come back with the practical options.
Open the contact form